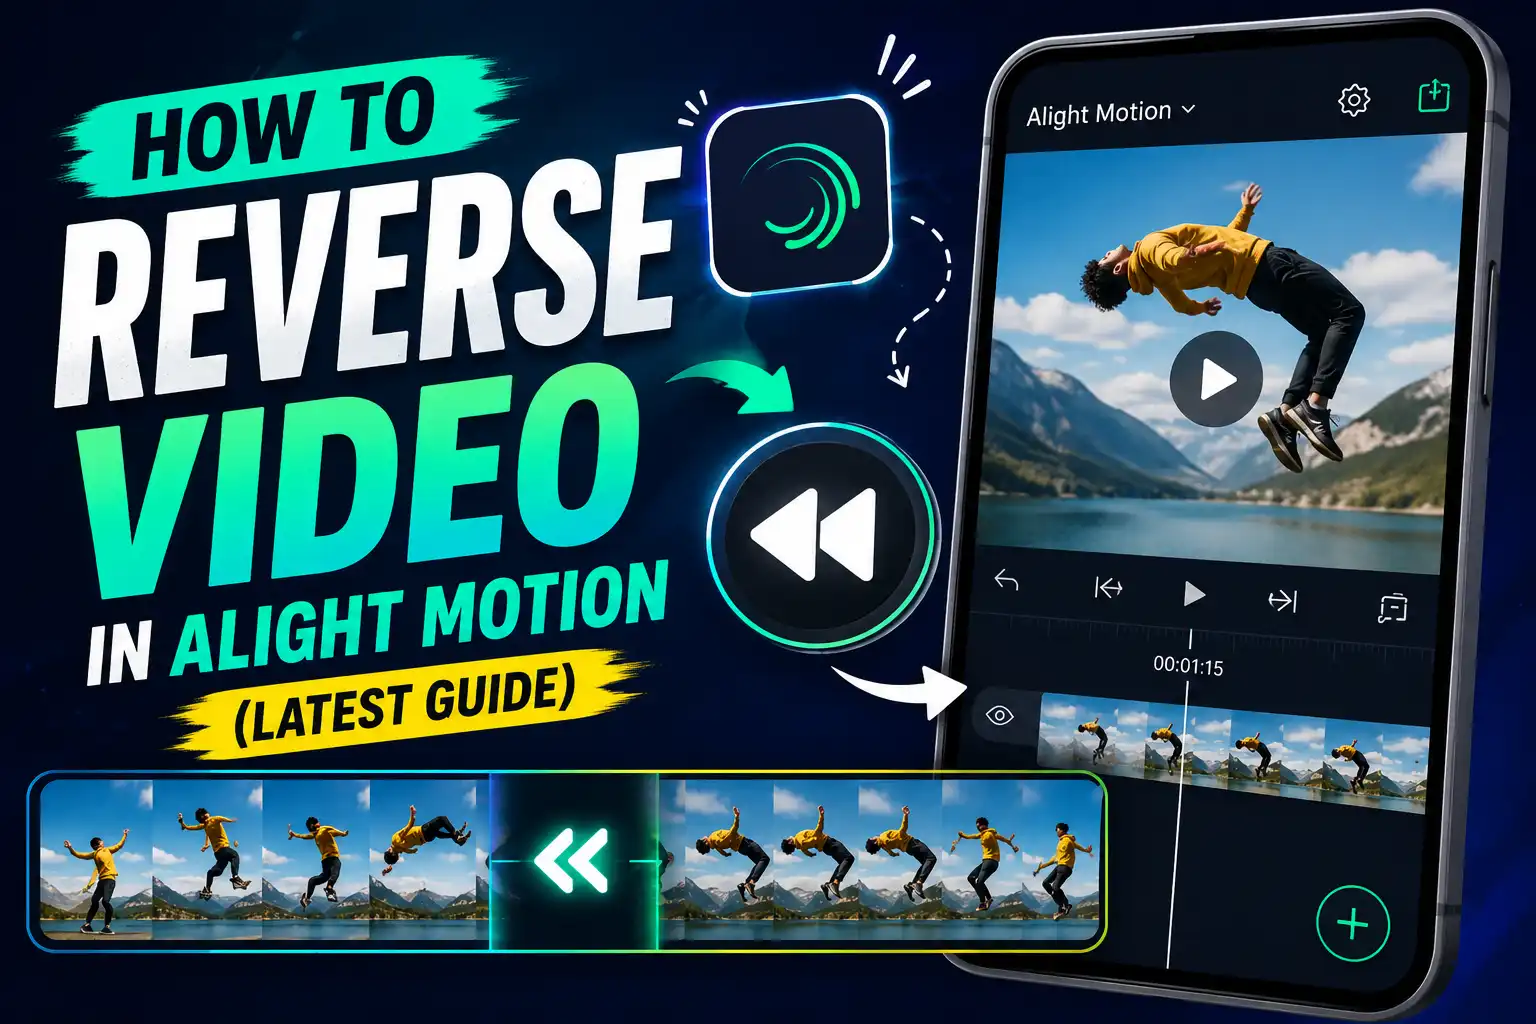
How to Reverse Video in Alight Motion (Latest Guide)
Reverse video is exactly what it sounds like. Your footage plays backward, from the last frame to the first. A person walking forward suddenly walks backward. A dropped cup jumps back into a hand. It looks strange, funny, and sometimes beautiful.
Creators use this trick for a reason. Reverse clips grab attention on TikTok and Instagram Reels in the first two seconds. They add humor to everyday footage. They turn a boring clip into a talking point. Wedding videographers use reverse shots for dramatic reveals. Meme creators use them for comedy. Motion designers use them to build looping animations.
So does Alight Motion support this? Yes. Alight Motion has a built-in reverse tool. You do not need a separate app just to flip a clip backward. This guide shows you the exact steps, plus a few backup methods for special cases like reversing audio properly.
Can You Reverse a Video in Alight Motion?
Yes, directly, with no workaround needed for the video itself.
Here’s the honest picture. Alight Motion’s reverse tool sits inside the clip’s Speed/Time settings. Once you toggle it on, the app processes the footage frame by frame and flips the playback order. Longer or higher-resolution clips take more time to process, especially on older phones.
The one thing that does not always reverse cleanly is audio. When you reverse a clip, the audio track attached to it usually reverses too, and reversed speech or music tends to sound garbled. Most editors just mute the reversed audio and add a new sound effect or music track over it. If you specifically need reversed audio that sounds clean (like a proper “rewind” sound effect), a quick pass through an external app can help. We cover that later in this guide.
Method 1: Reverse a Video Using Alight Motion’s Built-In Tool
This is the method almost everyone should use. It is fast, free, and keeps your entire project inside one app.
Step 1: Open Alight Motion and start a project Tap the “+” icon on the home screen. Pick your aspect ratio (9:16 for Reels and TikTok, 16:9 for YouTube), set your background color, and tap Create Project.
Step 2: Import your video clip Tap the “+” button on the timeline, select Media, and choose the video you want to reverse. It will drop into your timeline as a new layer.
Step 3: Trim the clip if needed Drag the edges of the clip to cut out any parts you don’t want. Trimming first makes the reverse process faster, since Alight Motion processes fewer frames.
Step 4: Open the clip’s Speed or Time settings Tap the clip once to select it. In the editing panel, find the Speed (sometimes labeled Time) option.
Step 5: Toggle Reverse Inside the Speed panel, you’ll see a Reverse toggle or a negative-speed option. Turn it on. Alight Motion will start processing the clip. This can take anywhere from a few seconds to a couple of minutes, depending on clip length and your device.
Step 6: Preview the result Once processing finishes, tap Play to check the reversed clip. If it looks choppy, your device might be low on RAM, or the clip might be too long for a smooth preview. It usually still exports fine.
Step 7: Adjust speed if you want a slow-motion reverse While you’re still in the Speed panel, you can slow the reversed clip down for a more cinematic feel, or speed it up for a comedic effect.
Step 8: Mute or replace the audio Since reversed audio often sounds unnatural, tap the audio track and either mute it or swap in a new sound.
Step 9: Export Tap the Export icon, choose your resolution, frame rate, and format, then save.
That’s the whole process. No external app needed for the video itself.
Method 2 (Alternative): Reverse Audio Separately Using CapCut
Use this only if you specifically need clean reversed audio, or if you’re on a very old Alight Motion build without the reverse toggle.
Method 3 (Alternative): Reverse Using VN Editor
VN Video Editor is another solid backup option, especially if you want a very simple reverse-only tool.
Method 4 (Alternative): Reverse Using InShot
InShot works well if you’re already comfortable with its interface, or you want quick reverse-and-trim in one pass.
How to Import the Reversed Video Back Into Alight Motion
If you reversed your clip in an external app, here’s how to bring it back:
- Open your Alight Motion project.
- Tap the “+” icon on the timeline and select Media.
- Find the reversed clip in your gallery (it usually saves to your Camera Roll or Downloads folder).
- Tap to import it as a new layer.
- Position it where you want on the timeline, either replacing the original clip or stacking it as a new segment.
- Add transitions, masking, or motion blur to blend it smoothly with the rest of your project.
- Preview the full sequence before exporting your final video.
Tips for Better Reverse Videos
Common Problems and Solutions
Video not importing
SOL: Check your file format first. Alight Motion works best with MP4 files. If your clip is in a less common format, convert it to MP4 using a free converter app, then try importing again.
Audio issues after reversing
SOL: This is expected. Reversed speech and music usually sound garbled. Mute the reversed track and layer in new audio instead of trying to fix the reversed sound.
App lag during processing
SOL: Reverse effects are frame-by-frame calculations, which is heavy on your device’s processor. Close other apps running in the background, trim your clip shorter, and give Alight Motion a minute to finish processing before you tap anything else.
Export errors
SOL: If your export fails or freezes, check your free storage space first. Reverse processing plus export can temporarily need more space than you’d expect. Also try lowering your export resolution one step and exporting again.
Quality loss after reversing
SOL: Reversing itself does not lower quality. If your final video looks soft or pixelated, check your export resolution and bitrate settings. Exporting at a lower resolution than your source footage is the most common cause.
Best Settings for Export
| Setting | Recommended Value | Notes |
|---|---|---|
| Resolution | 1080p (Full HD) | Good balance of quality and file size for social media |
| Frame Rate | 30 fps | Use 24 fps for a cinematic look, 60 fps for very smooth motion |
| Bitrate | 8-12 Mbps | Higher bitrate for fast-motion reverse clips to avoid blur |
| Format | MP4 (H.264) | Most compatible format across platforms |
Advantages & Disadvantages of Reversing Video in Alight Motion
Advantages
Disadvantages
Alternatives Comparison
| Feature | Alight Motion | CapCut | VN Editor | InShot | KineMaster |
|---|---|---|---|---|---|
| Built-in reverse | Yes | Yes | Yes | Yes | Yes |
| Clean audio reverse | Partial | Yes | Yes | Partial | Partial |
| Keyframe animation | Yes | Limited | No | No | Limited |
| Multi-layer editing | Yes | Yes | Limited | Limited | Yes |
| Free watermark-free export | Yes (mod) | Yes | Yes | No | No |
| Best for | Motion graphics + reverse combo | Quick reverse + trending edits | Simple reverse-only edits | Fast mobile edits | Layered social edits |
Frequently Asked Questions
Conclusion
Reversing a video in Alight Motion is simpler than most people expect. The built-in Speed/Time toggle handles the video side in just a few taps, and you don’t need to leave the app for basic reverse effects. The only real friction point is audio, since reversed sound rarely sounds clean on its own. Mute it, layer in new music or a sound effect, and your reversed clip will feel intentional rather than accidental.
If you’re building something more advanced, like a boomerang loop or a seamless forward-to-reverse transition, combine the reverse toggle with keyframes, masking, and speed ramps. That’s where Alight Motion pulls ahead of simpler reverse-only apps. Start with a short, well-trimmed clip, get comfortable with the basic steps above, and you’ll be producing polished reverse edits in no time.