How to remove green screen (chroma key) in Alight Motion? (best guide 2026)
If you are a director or producer and want to start filmmaking, drama production, or creating short stories on a small scale without spending money on expensive locations, then Alight Motion Pro APK is the best mobile- and desktop-friendly app for you. With this app, you can do professional-level video editing. One of its most powerful tools is the Green Screen (Chroma Key) feature, which lets you remove backgrounds and add custom scenes, giving your videos and images a full cinematic look.
Let’s learn, step-by-step and in depth, how to give our videos a cinematic look using the chroma key. If you run into any issues with Alight Motion or want to learn advanced features, visit our blog page—you’ll find solutions to every problem there.
What is the chroma key (green screen)
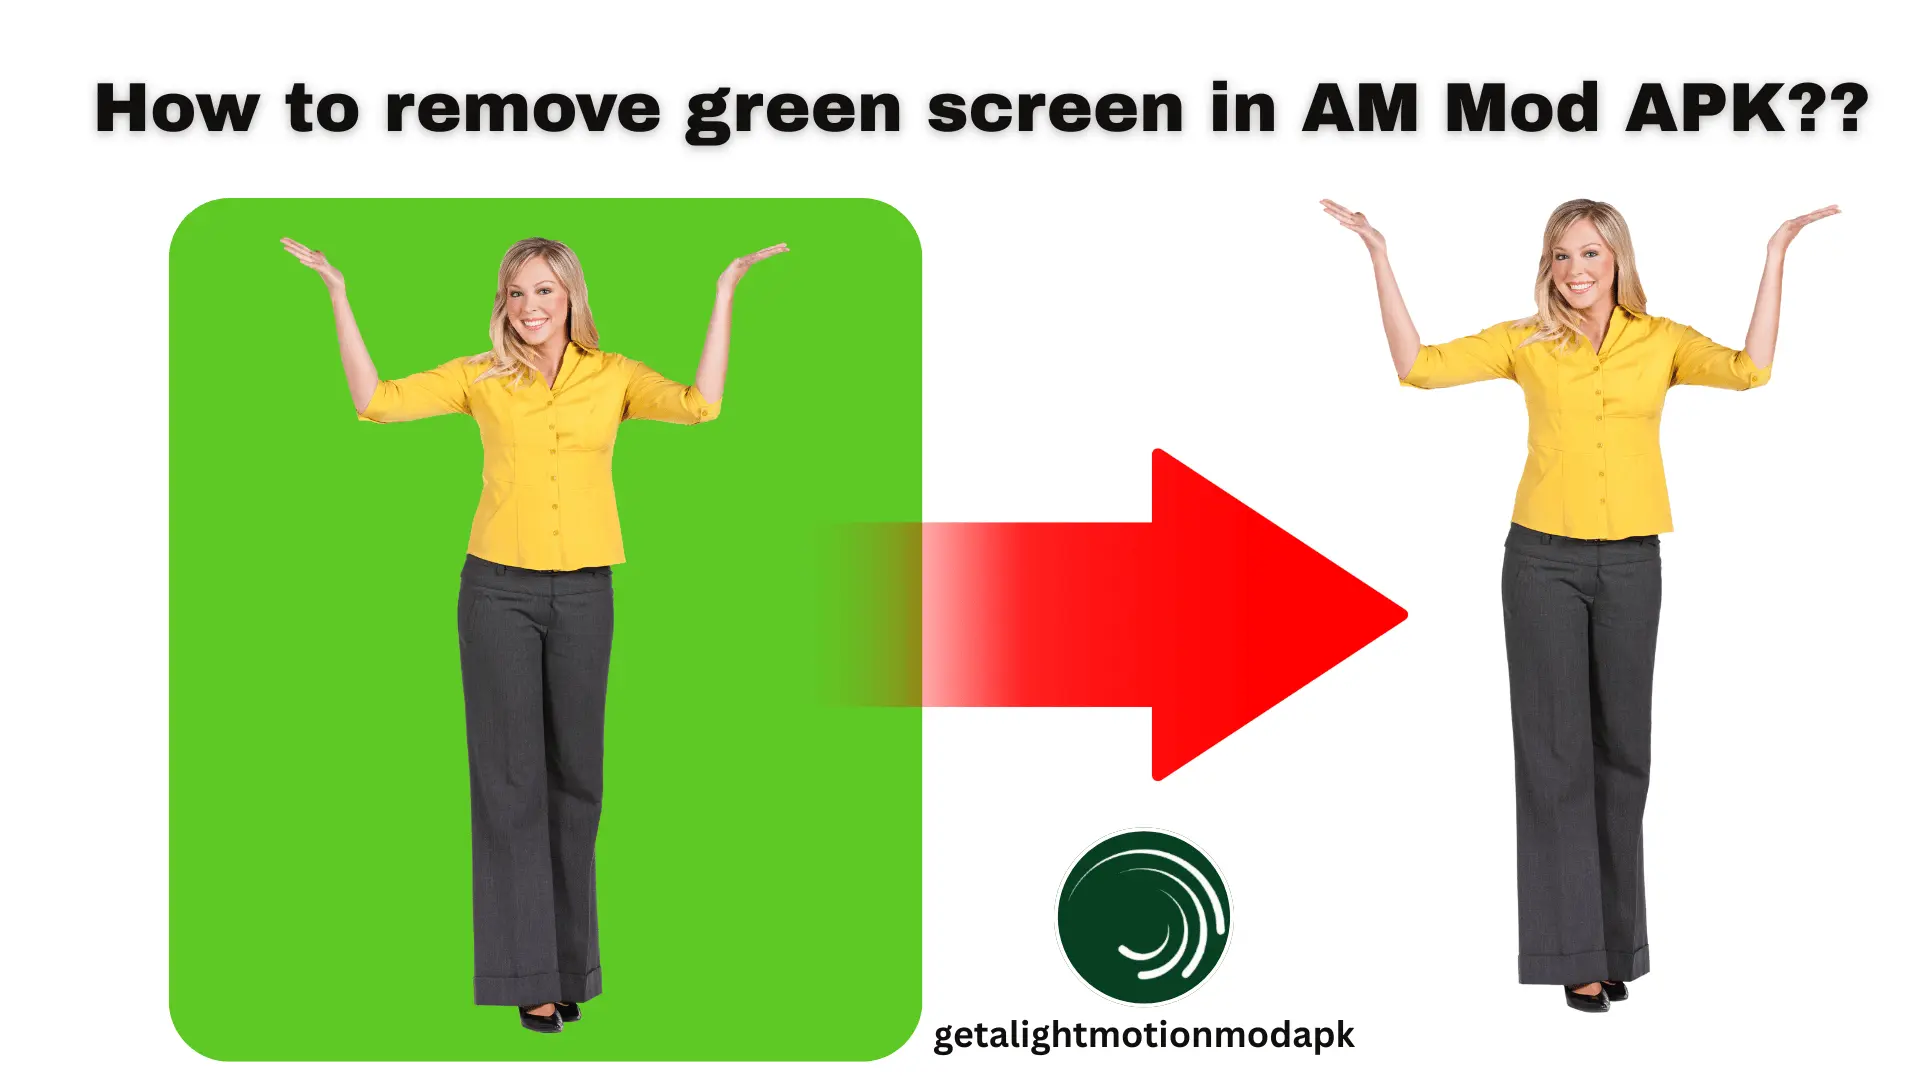
Chroma key is actually known as the green screen effect, which is used in modern video production as a powerful visual effect. Actually, when creators make an image or video, they use two colors in the background—blue and green—because these two colors are opposite to skin tones. Using these colors helps to identify and remove background colors easily and turn them transparent.
After removing the background with the help of a chroma key, the designer has full access to add stunning videos or images, giving the video a magical and professional look. Blue and green colors give a realistic touch to the video. Always use a wrinkle-free background.
For example, the chroma key is most commonly used in movies, especially for space scenes. Actors are filmed in front of a blue or green background and later placed into a space environment during editing. It is also widely used in brand advertisements. In a recent BNB brand ad, the product appears to fall in front of the Eiffel Tower. but In reality, the footage was shot in front of a green screen, and the background was added later using visual effects.
Importance and benefits of chroma key
How to remove the green screen in Alight Motion?
follow complete guide to remove green screen in Alight Motion step by step
Step 1: Import a video or image that you want to set as a background of your video.
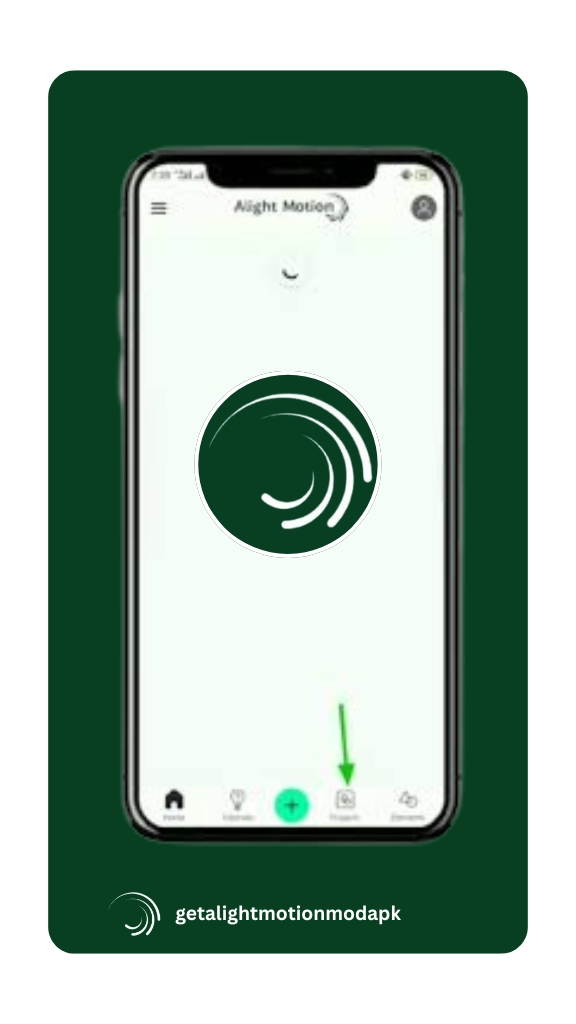
Step 2: Click on the “+” icon that shows on the bottom right corner of the screen.
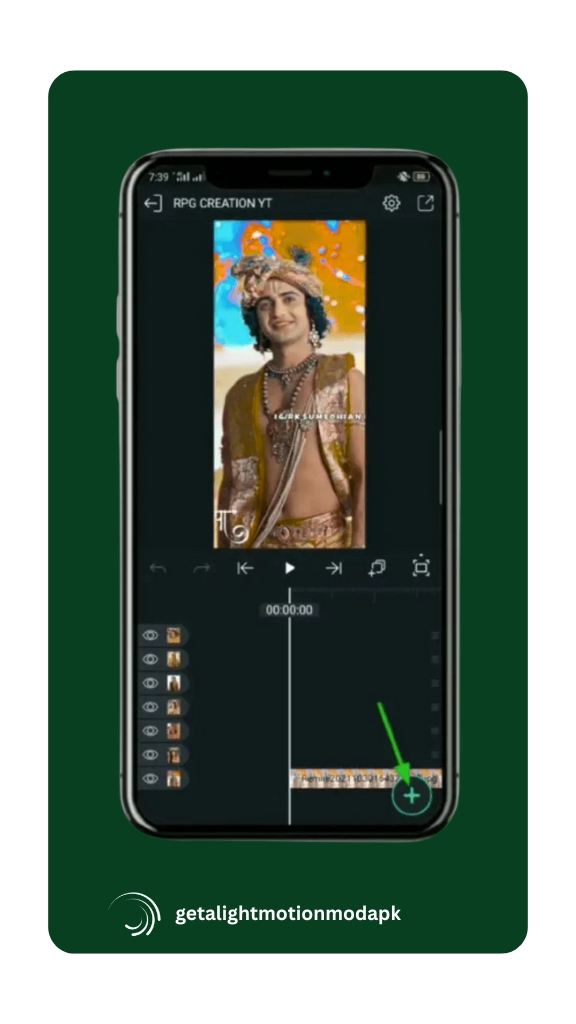
Step 3: Find the media option and click on it.
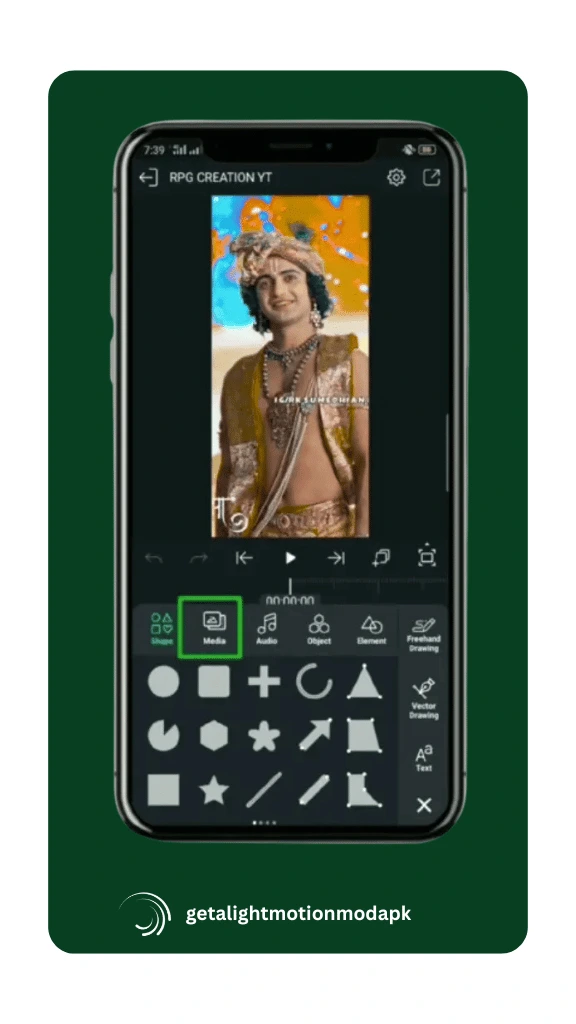
Step 4: Select the video that you already shot with a green screen.
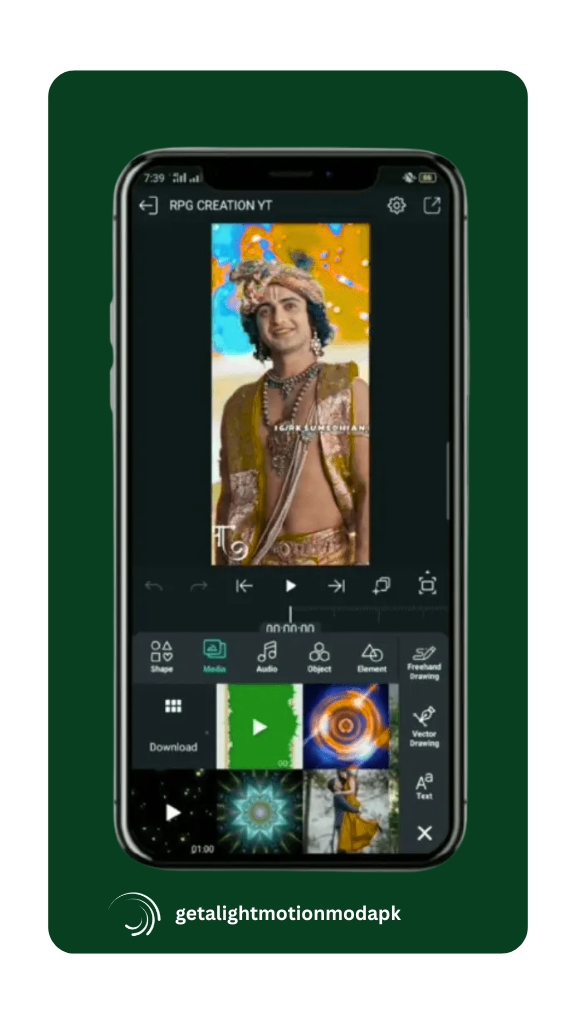
Step 5: Click on the layer video panel that shows the timeline..
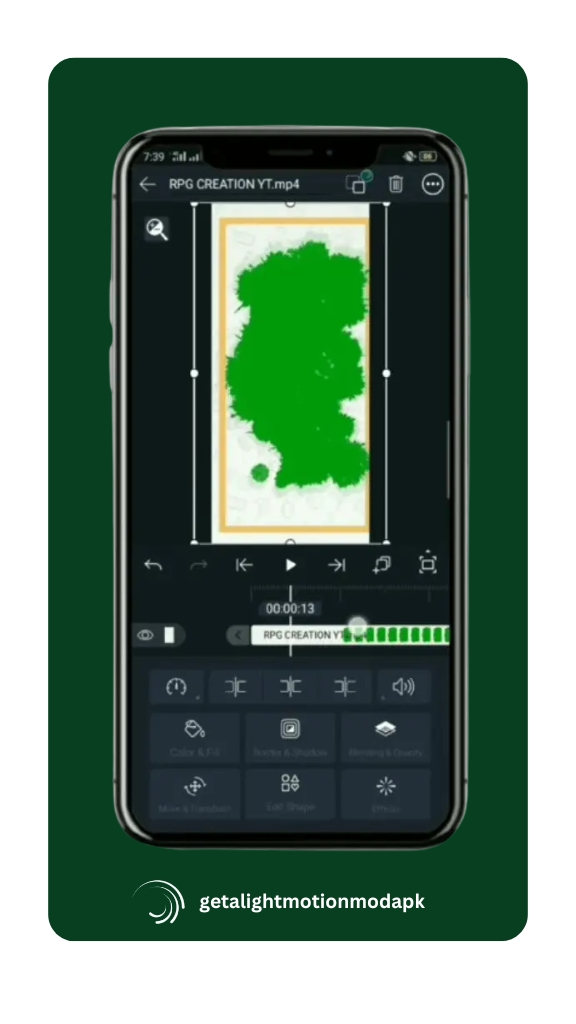
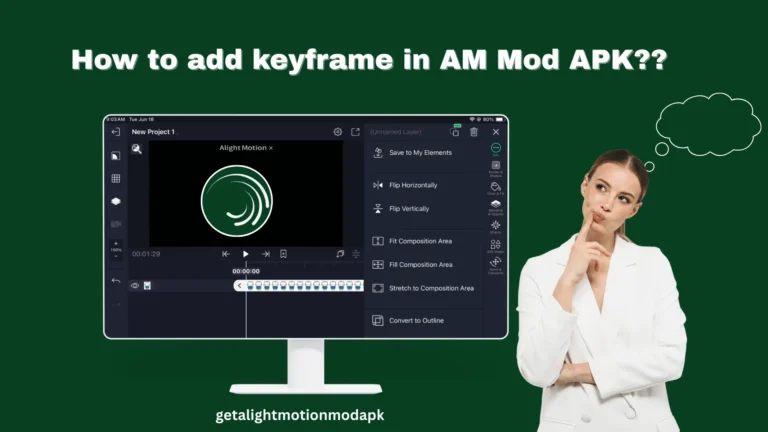
Step 6: A new window will be open. Click on the three dots that show on the top right corner of the screen and click on the editing option “Fill Composition Area.”
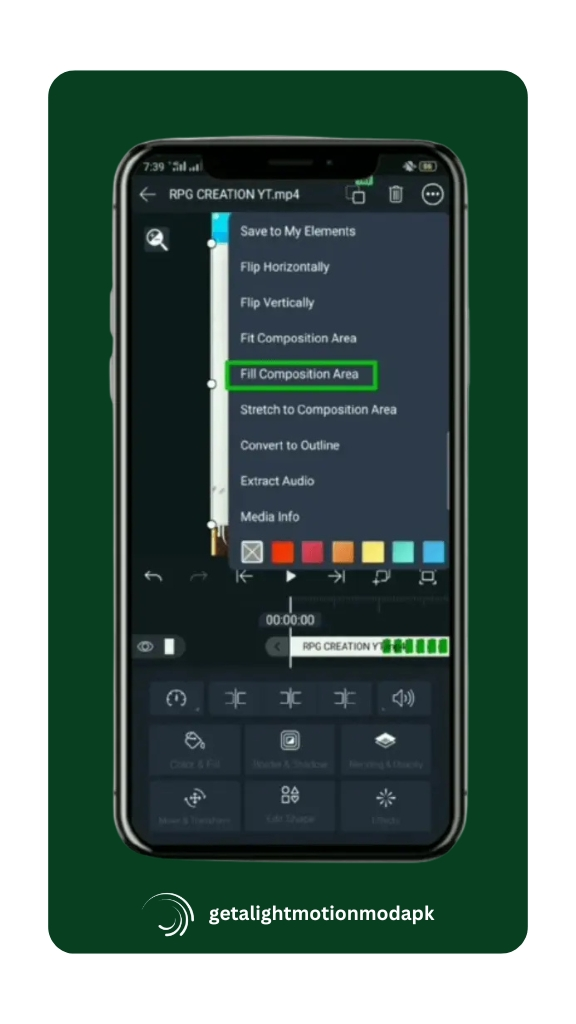
Step 7: Click on the “effect” option.
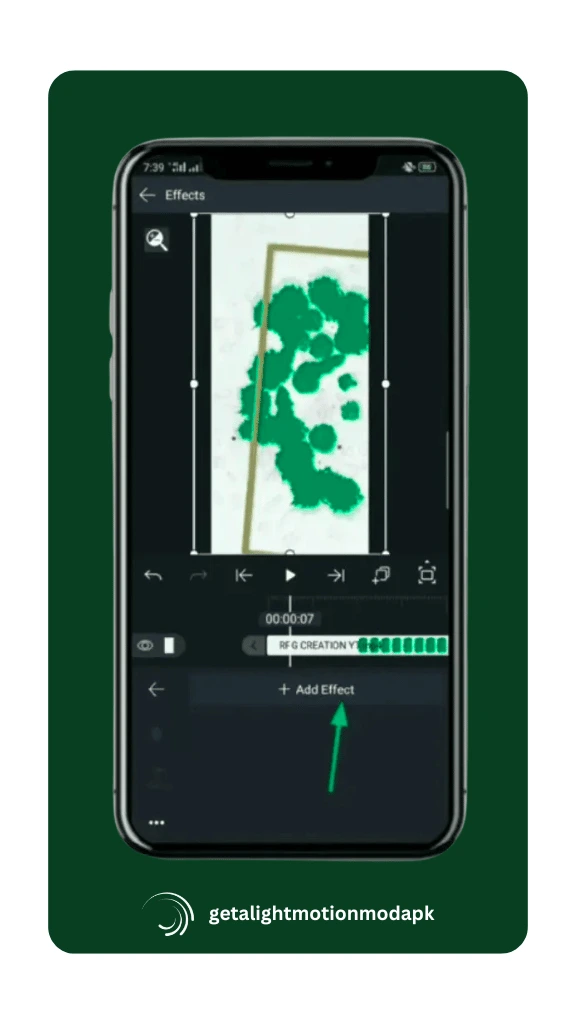
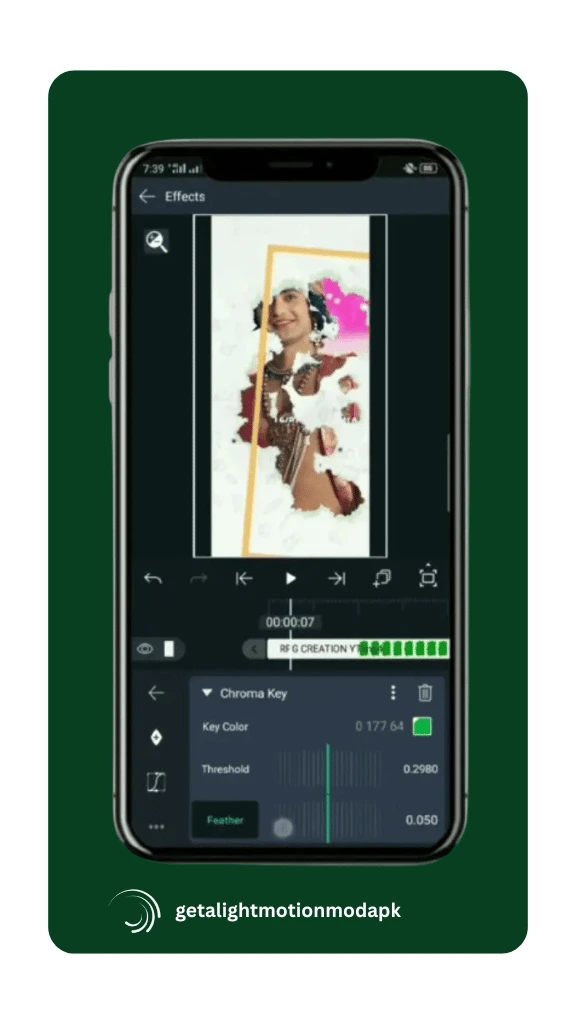
Step 8: Click on “Add effect option” and go to the Mate/Mask/Key option.
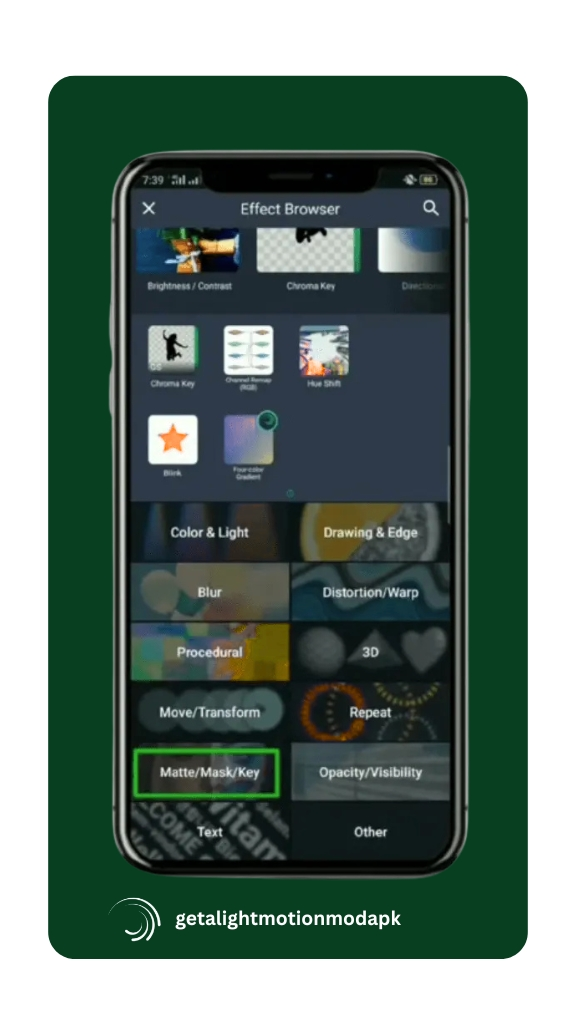
Step 9:Click on the chroma key
Step 10: Select the green screen or blue screen that shows on the bottom of the screen.
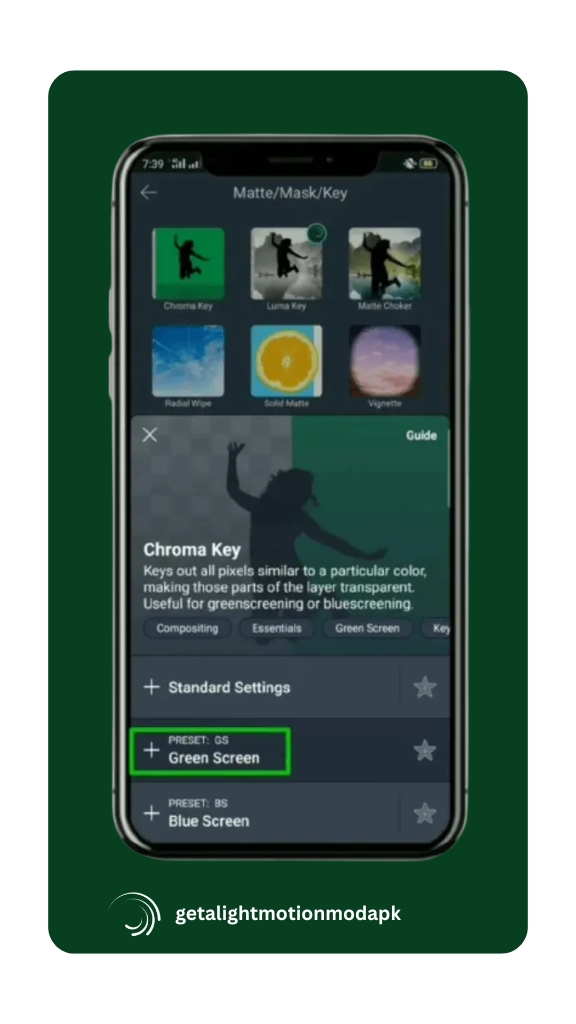
Step 11: Set the “Threshold” and “Feather” scales until your selected screen replaces the green color.
Pro Tips for Using Chroma Key (Green Screen)
Must follow these tips for time-saving, smooth editing, and cinematic results.
Final Words:
I have personally tested all the features of Alight Motion, and my favorite one is the green screen removal feature. In my opinion, if you want to start a project without spending extra money and within a short time, you should definitely use Alight Motion. It includes all the tools you need to give your project a professional look. Furthermore, if you want to learn more about layers and how to use them effectively, make sure to visit our website.