How to Do Velocity Edit and Adjust Speed in Alight Motion (Complete Guide)
Speed control is one of the simplest ways to make a video feel more cinematic. Slow down a jump and it feels dramatic. Speed up a walk and it feels playful. Ramp between slow and fast in the same clip, and you get the effect editors call a velocity edit, one of the most popular techniques on TikTok, Reels, and YouTube Shorts right now.
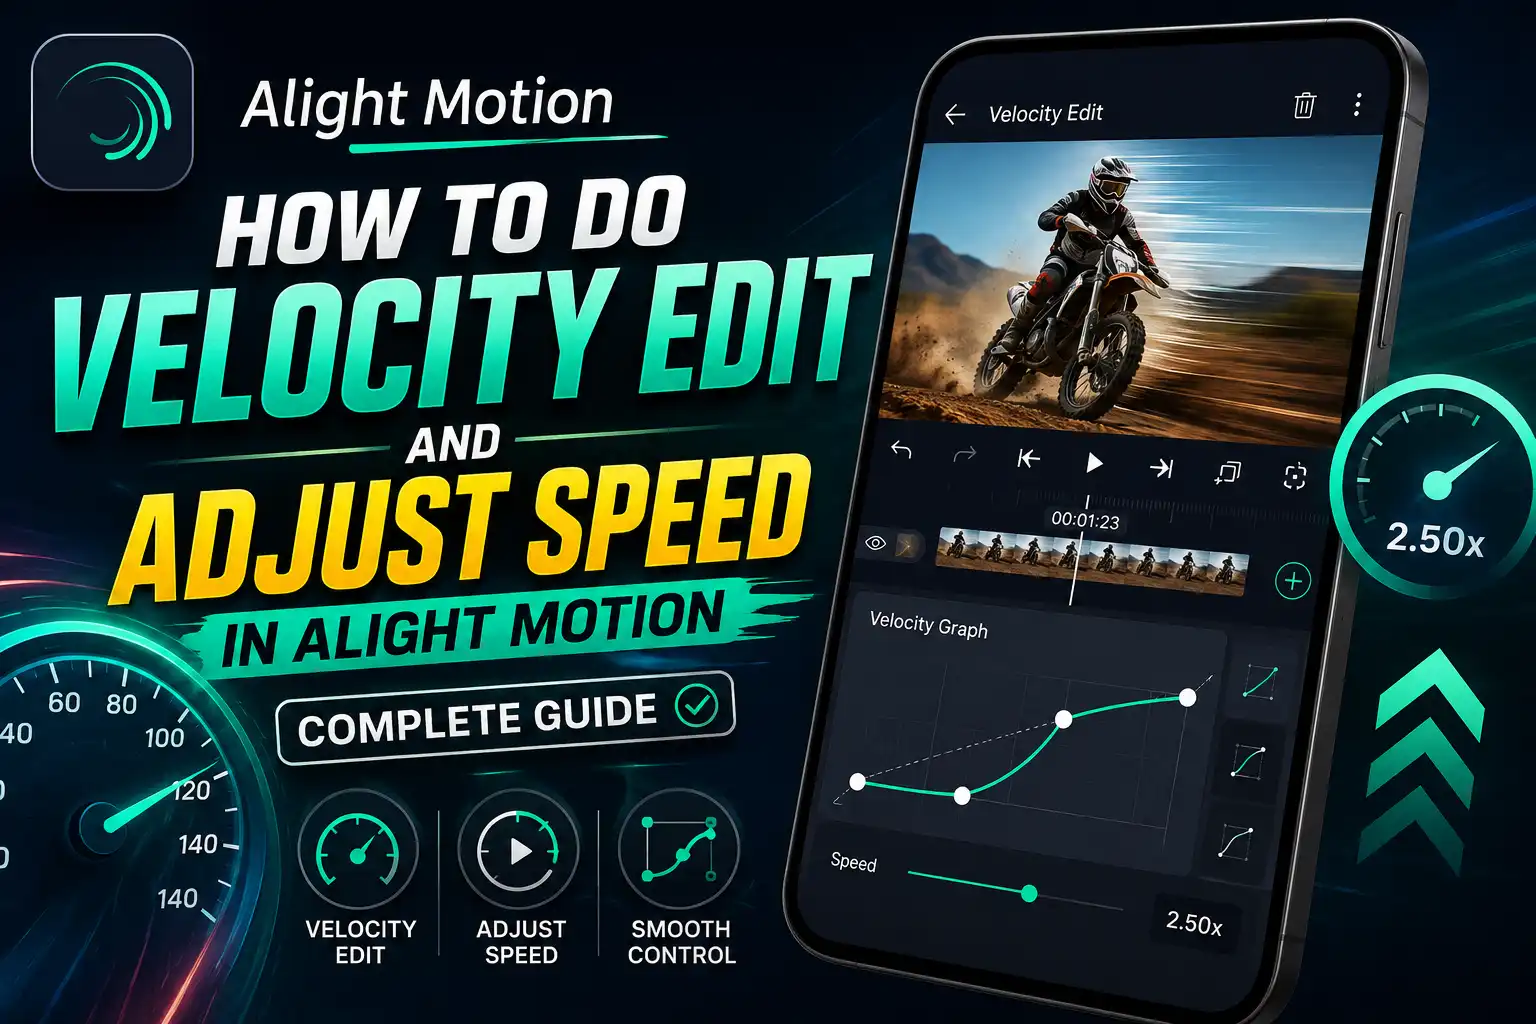
Alight Motion gives you two levels of speed control. The basic Speed setting changes the pace of an entire clip. The Time Remap Graph gives you frame-by-frame control, letting you speed up and slow down different parts of the same clip, which is what a true velocity edit needs.
This guide covers both, starting simple and working up to advanced velocity ramps, so whether you just want to slow down a clip or build a full speed-ramp transition, you’ll find the exact steps here.
Basic Speed Adjustment: Step by Step
Use this method when you want the whole clip to play faster or slower, evenly, from start to finish.
Step 1: Import your clip Open your project, tap the “+” icon on the timeline, select Media, and choose your video.
Step 2: Select the clip Tap the clip once on the timeline to open its editing options.
Step 3: Open the Speed panel Look for the Speed icon in the toolbar. It usually shows a speedometer or a percentage value like “100%”.
Step 4: Adjust the slider Drag the slider above 100% to speed the clip up, or below 100% to slow it down. A value of 50% plays at half speed. A value of 200% plays twice as fast.
Step 5: Preview the result Tap Play to check how the new speed looks and feels. Adjust again if needed.
Step 6: Handle the audio Speed changes affect the pitch of any audio attached to the clip. For a natural sound, either mute the original audio and add new music, or use a pitch-correction option if your version of the app includes one.
Step 7: Export Tap Export and choose your resolution, frame rate, and format.
This method is fast and works well for simple slow-motion or fast-forward effects across a whole clip.
Advanced Velocity Edit Using the Time Remap Graph
This is the method for true velocity edits, where the speed changes smoothly within a single clip. It’s the technique behind those popular “slow down then snap into fast motion” transitions you see in trending edits.
Step 1: Select your clip on the timeline Tap the clip you want to apply the velocity edit to.
Step 2: Open the Time Remap Graph Look for the Time or Time Remap option in the clip’s settings. This opens a graph showing your clip’s playback speed over time.
Step 3: Add your first keyframe Place the playhead at the point where you want a speed change to begin, then tap to add a keyframe on the graph line.
Step 4: Add a second keyframe Move the playhead forward to where you want the speed change to end, and add another keyframe.
Step 5: Adjust the curve between keyframes Drag the line between your two keyframes up to speed that section up, or down to slow it down. A steeper line means a faster transition between speeds.
Step 6: Add more keyframes for multiple speed changes Repeat the process to build a sequence, like slow, then fast, then slow again, all within the same clip.
Step 7: Smooth out the transitions Most graphs let you choose between a sharp angle or a curved ease between keyframes. A curved ease usually looks more natural for cinematic velocity edits, while a sharp angle works for punchy, snappy transitions.
Step 8: Preview the full sequence Play through the clip a few times to check that the speed changes land where you want them, especially if you’re syncing them to a beat in your music.
Step 9: Sync with music (optional but recommended) Velocity edits look best when the speed changes match a beat drop or accent in your audio track. Place your music first, mark the beat points, then match your keyframes to those points.
Step 10: Export Once you’re happy with the ramp, export at your preferred settings.
Tips for Better Velocity Edits and Speed Control
Common Problems and Solutions
Speed change looks choppy or jerky:
Sol: This usually happens on fast sections. Add a slight motion blur to the clip to smooth out the movement between frames.
Audio pitch sounds wrong after changing speed
Sol: Speed changes shift audio pitch by default. Mute the original clip audio and layer in separate music or sound effects instead.
Time Remap Graph keyframes not saving
Sol: Make sure you tap directly on the graph line to place a keyframe, not just near it. If keyframes still don’t save, close and reopen the app, then try again on a freshly imported clip.
App lags when previewing velocity edits
Sol: Complex speed ramps with several keyframes are processing-heavy. Close background apps, and consider previewing at a lower resolution before your final export.
Export takes much longer than usual
Sol: Velocity edits require extra rendering since the app recalculates frames at variable speeds. This is normal for longer or more complex ramps. Be patient, or split very long sequences into smaller clips.
Speed ramp doesn’t match my music beat
Sol: Zoom into the timeline for more precise keyframe placement, and use waveform view if available to see exactly where the beat hits.
Best Settings for Export in Alight Motion
| Setting | Recommended Value | Notes |
|---|---|---|
| Resolution | 1080p (Full HD) | Keeps file size manageable while staying sharp for social platforms |
| Frame Rate | 30 fps | Use 60 fps if your source footage was shot at 60fps for smoother slow motion |
| Bitrate | 10-14 Mbps | Slightly higher than normal, since fast-motion sections need more data to stay sharp |
| Format | MP4 (H.264) | Most compatible format across platforms |
Advantages & disadvantages of Speed Control in Alight Motion
Disadvantages
Alternatives Comparison
| Feature | Alight Motion | CapCut | VN Editor | InShot | KineMaster |
|---|---|---|---|---|---|
| Basic speed slider | Yes | Yes | Yes | Yes | Yes |
| Advanced speed ramping (multiple points in one clip) | Yes (Time Remap Graph) | Yes | Limited | No | Limited |
| Beat-sync tools | Manual | Automatic beat detection | Manual | Manual | Manual |
| Keyframe animation alongside speed | Yes | Limited | No | No | Limited |
| Free watermark-free export | Yes (mod) | Yes | Yes | No | No |
| Best for | Combining speed ramps with motion graphics | Fast beat-synced edits | Simple speed changes | Quick mobile edits | Layered social edits |