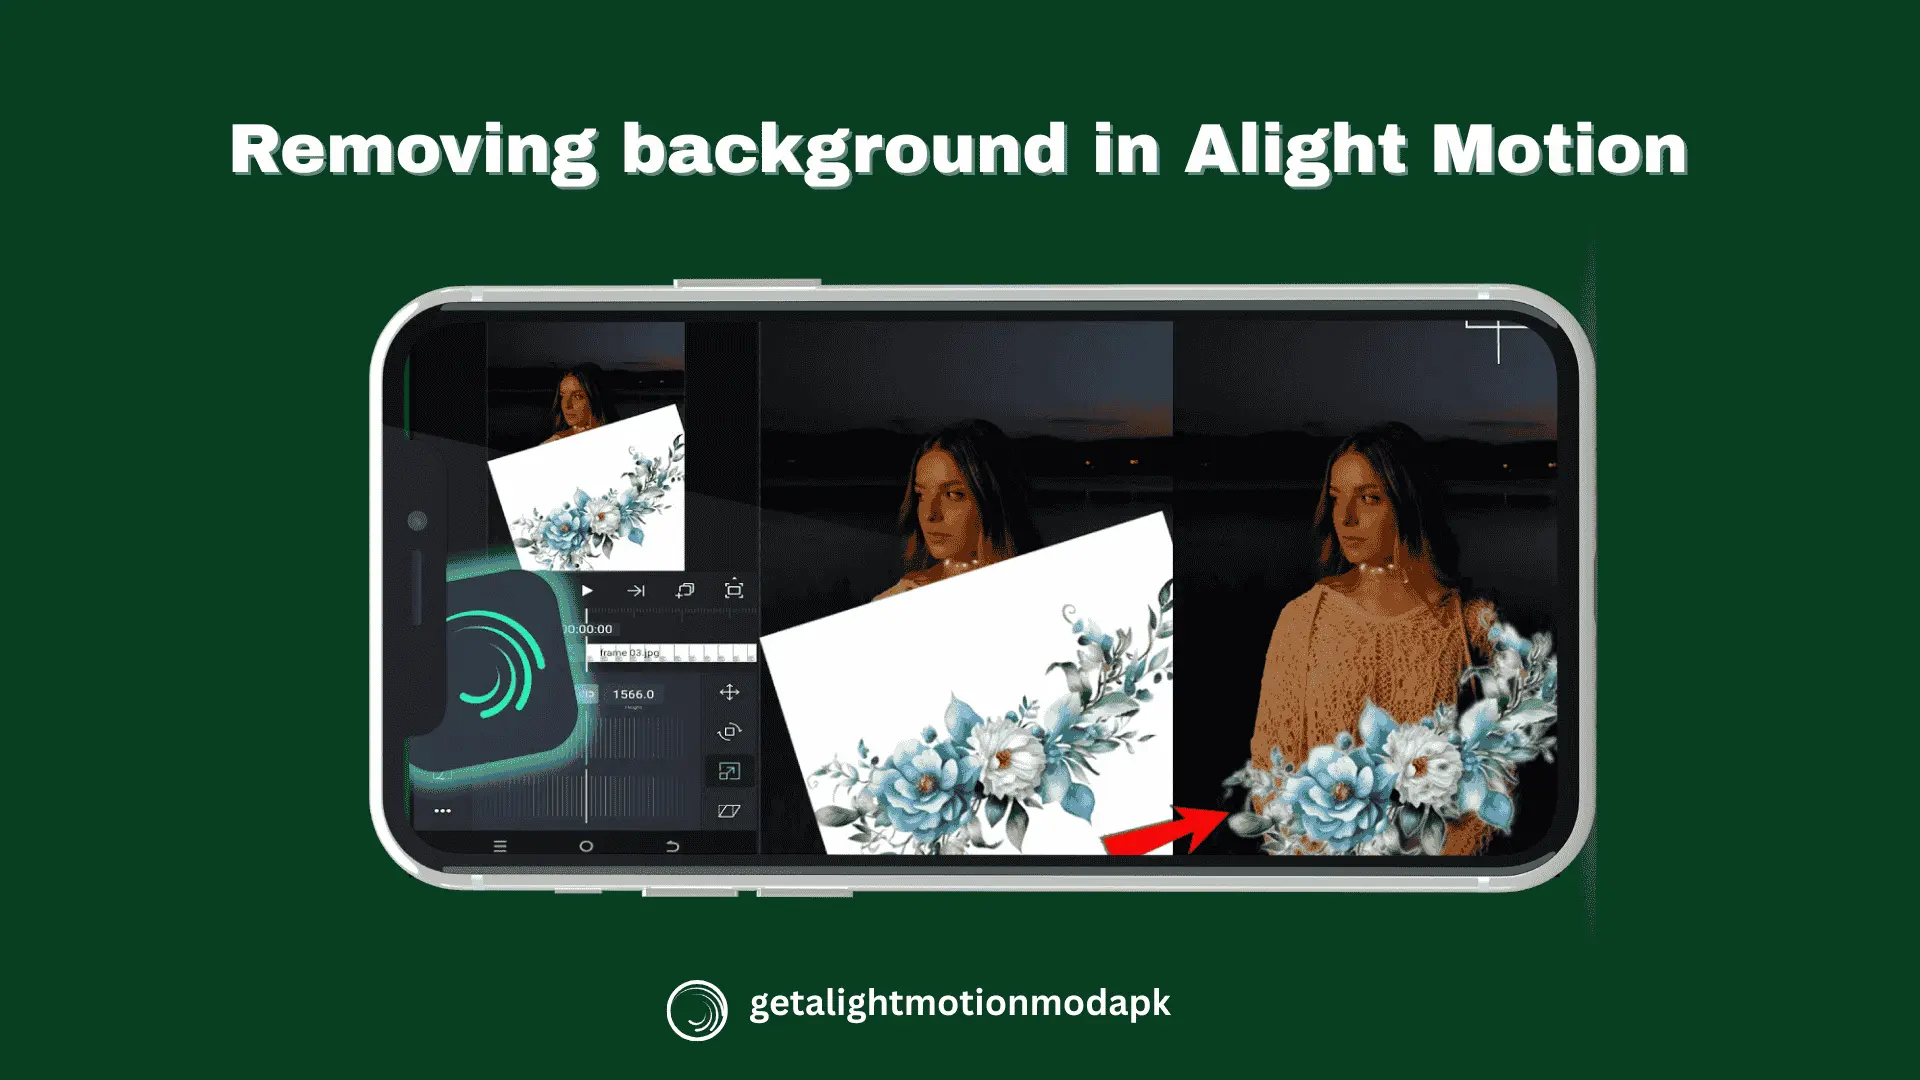
As you all know, Alight Motion is popular worldwide because of its advanced features, and many video editors prefer the mod APK version of the app. One of these advanced features is background removal, which sparks users’ curiosity about the different ways we can remove backgrounds in Alight Motion. There are three easy methods for background removal: 1) Chroma Key (green/blue screen), 2) Masking,and 3) Clipping (alpha, gradient, & luma masking). Let’s learn these methods step by step and see how, using them, we can give our projects a professional look.
3) Method 3 — Manual Masking (for non green/ blue background)
For short clip editing, use manual masking for instant results. Draw a shape according to the subject and place it as the background. Suitable when the chroma key is not available.
Step 1: Place the subject layer on top and the background layer at the bottom.
Step 2: Select the subject layer & click on layer control
Step 3: Go to the Mask/Shape/Path option
Step 4: If the subject is complex, select mask shapes like rectangle, ellipse, triangle, and manual brush.
Step 5: Animate masks if the subject moves.
Step 6: Use feathers and refine for a natural look.
Step 7: If the subject has a complex shape, then use multiple layers of masks, like a mask for the nose, a mask for the hair, and a mask for the hands.
Step 8: Now preview your masking, and you can export it.
Advanced tips & troubleshooting
Use garbage matte first: a rough mask to remove outlying green zones, then chroma key for fine removal.
Fix green spill: Despill tool / reduce green channel using color wheels / selective color correction.
Holes in subject: duplicate original layer, place below keyed layer, use blend/opacity to fill thin holes (careful).
Edge jitter / mask pops: increase mask keyframe density where motion is complex; turn on motion blur on the subject layer if available to hide small pops.
Soft hair edges: try a small blur on the subject, then an unsharp mask on the subject layer (subtle) to restore crispness.
Export with transparency: check if your Alight Motion version supports WebM/PNG sequences with alpha. If not, export on a solid color and use external tools to convert to alpha if possible.
Frequently Asked Questions
Yes, you can remove the background in Alight Motion with three different methods that are explained in the above section.
Follow the above link for masking for a complete step-by-step guide.
Open your project and add the image.
Select the image layer → go to Opacity → drag the slider down to make it transparent.
Or go to Blending & Opacity and choose a blend mode (like Multiply, Screen, or Overlay) to mix the image with the background.
Alight Motion Not Working? 8 Common Errors and How to Fix Them Alight Motion is one of the most powerful mobile editing apps available, but like any app, it can run into problems. The app might crash mid-project, refuse to open, get stuck during export, or lose a project you spent hours building. Most of…
Alight Motion Mod APK is a unique and most demanding video editing app. Along with downloading the app, people also want to download its logo in different formats such as PNG, PFP, & JPG for free, especially in high-quality resolution. In this blog section, you would download free Alight Motion Mod APK logos in many…
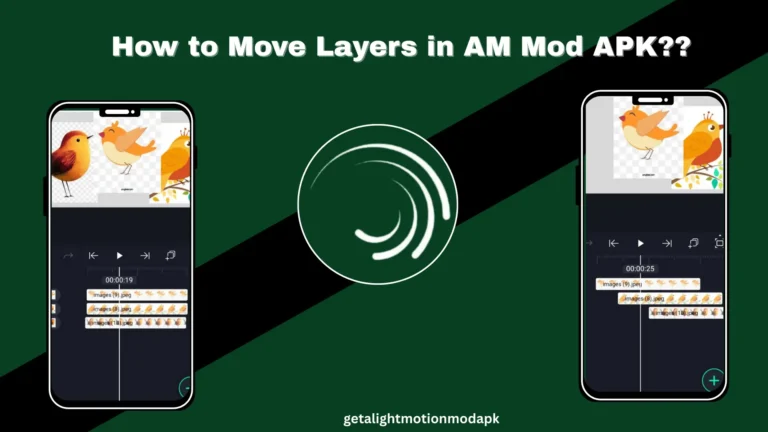
If you are a lover of Alight Motion, then you must search for this:How to use the moving layers feature in Alight Motion Premium? Can we move layers up/down? We will give you the answer to all these questions:How can we move layers in Alight Motion? If you are a beginner or a professional editor,…
Struggling to log into your Alight Motion account? You’re not the first person staring at that login screen wondering what to do next. Whether you’re on Android, iPhone, or trying to use Alight Motion on your PC, this complete guide will walk you through every login method, troubleshoot common errors, and get you editing videos…
Alight Motion is popular among video and photo editors because of its premium features. One of the most amazing pro features is the QR code. Many applications also provide premium tools, but when exporting videos, they add a watermark, which makes the output look low-quality. In contrast, Alight Motion Mod APK gives you free access…
In this modern era, everyone wants to be a professional video editor and is curious to show that every single movement that is happening in a video is real. But you’re confused about which app is suitable for magically creating videos? Alight Motion Mod APK or Cap Cut. Are you also from these creators? If…