How to add keyframes in Alight Motion? (best guide 2026)
In today’s time video editing is the most demanding online skill in 2026. Travelers, office workers, and people who love to capture their memories are always looking for an app that can help them make every moment unforgettable. So if you are also among those people, then download Alight Motion now from our site. The most advanced feature in AM is keyframes that create suspense and smooth transitions in your videos.
If you want to learn how to add keyframes, how they work, and what type of keyframes are important, then follow the complete article step by step, and you will get the answer to every question. Let’s get started.
What are keyframes?
Keyframes play a very important role in designing magical videos. Actually, with the help of keyframes, you can move, rotate, zoom in/out, and scale up & down the object. If you add a single keyframe on an object, then the keyframe animation will not be added. You must add two keyframes, one from the starting point and a second from the end point of the object; the magical animation is automatically added.
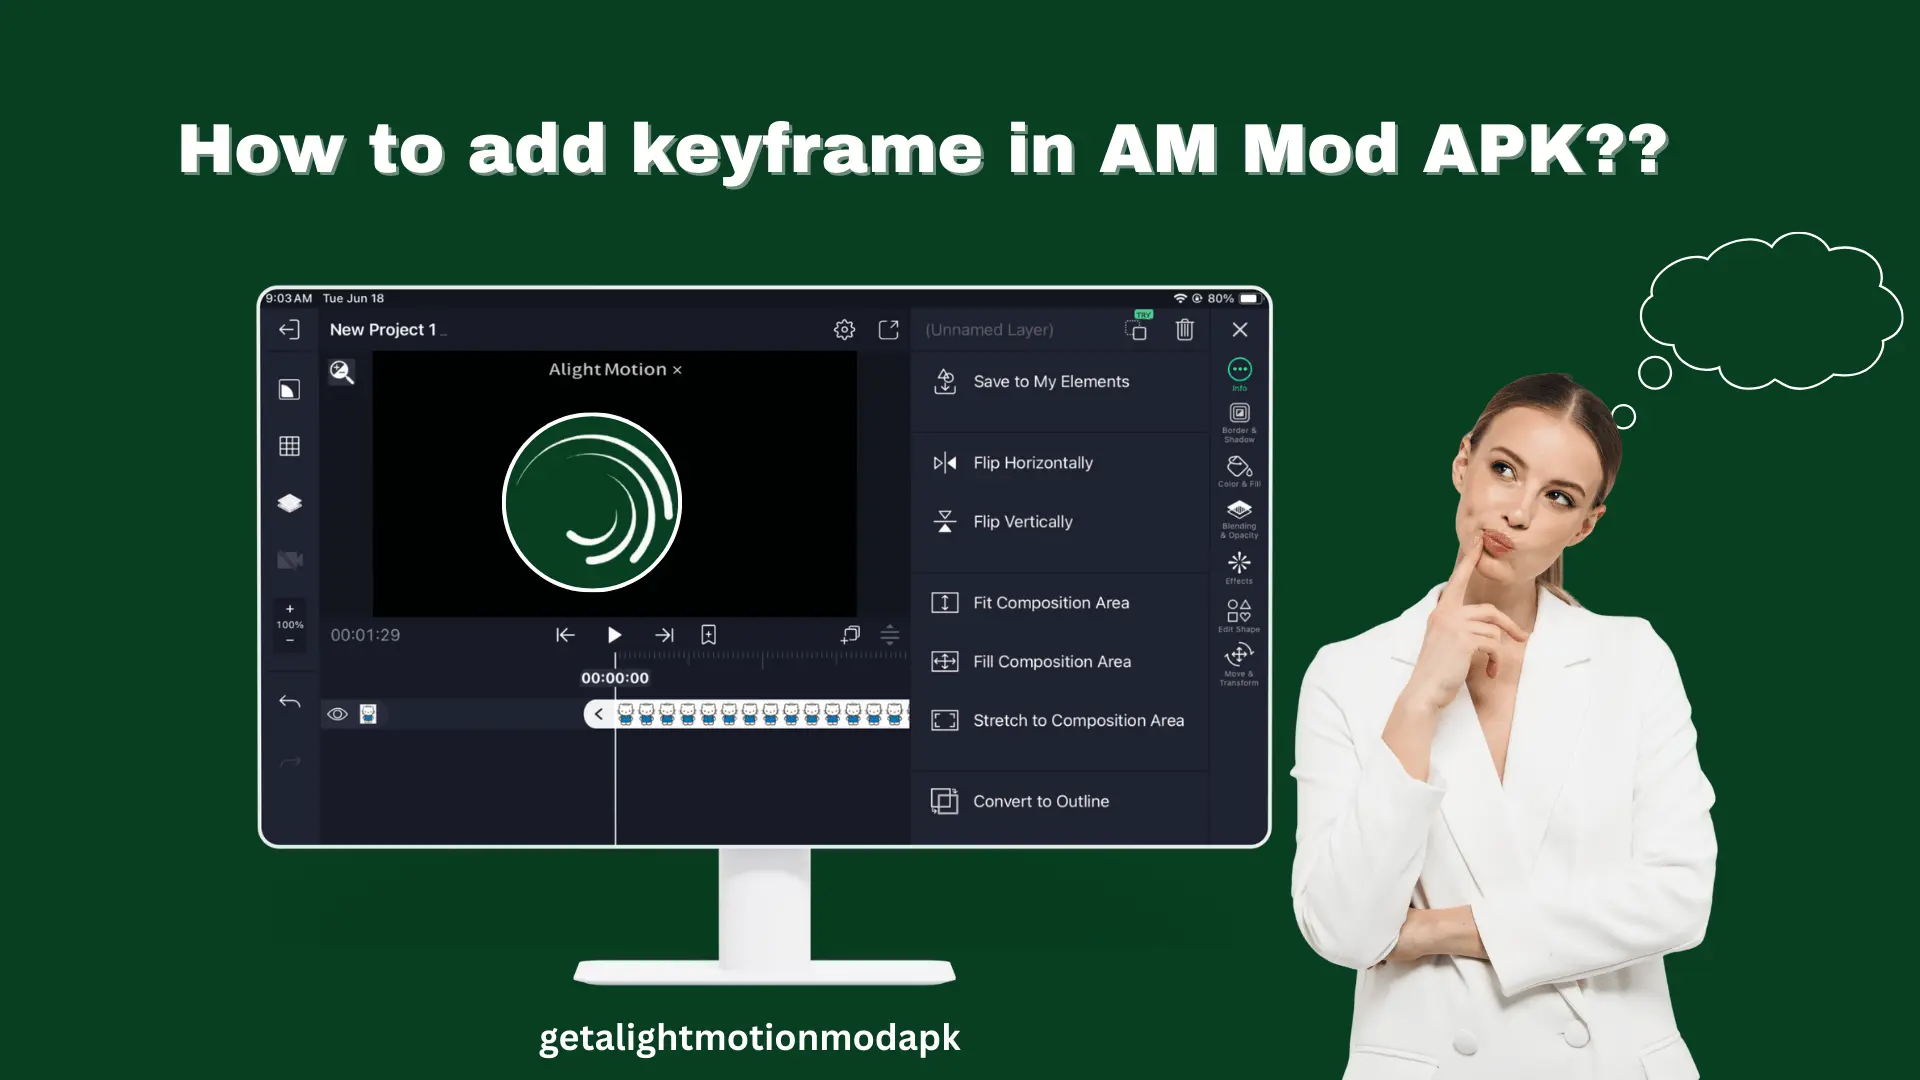
The diamond-shaped button is used for the keyframe. That’s the only basic concept of adding keyframes in Alight Motion. For example, if you want to add “Hello” text or any “image” in your video, then you must add a keyframe from the left side and a second keyframe from the right side; then the animation duration will be automatically added.
Types of keyframes in Alight Motion
It is important to understand that keyframes are not just of one type. There are different types of keyframes for different purposes. For example, rotation, zooming in and out, and other effects all have their own separate keyframes. Let’s discuss each type of keyframe one by one.
Animation-based keyframes:
Position Keyframe:
In the position keyframe you can move or allocate your object from one place to another place. For example, if you want to move your text from left to right or right to left, you must add one keyframe on the right side and a second keyframe on the right side; then the smooth transition between these two points is automatically generated.
Rotation keyframe:
In the rotation keyframe you can rotate your text or image 360 degrees. For example, if you want to rotate an object, first set a 0-degree keyframe on the starting point and a 360-degree one on the endpoint in the timeline, and then a smooth transition spinning effect is automatically generated.
Opacity Keyframe:
The opacity keyframe sets the visibility of any object or text. For example, if you want to add transparency to your object or text, then add a 0 keyframe on the starting point and a 100 keyframe on the endpoint in the timeline; the smooth magical transparency will be automatically added.
Speed control keyframe:
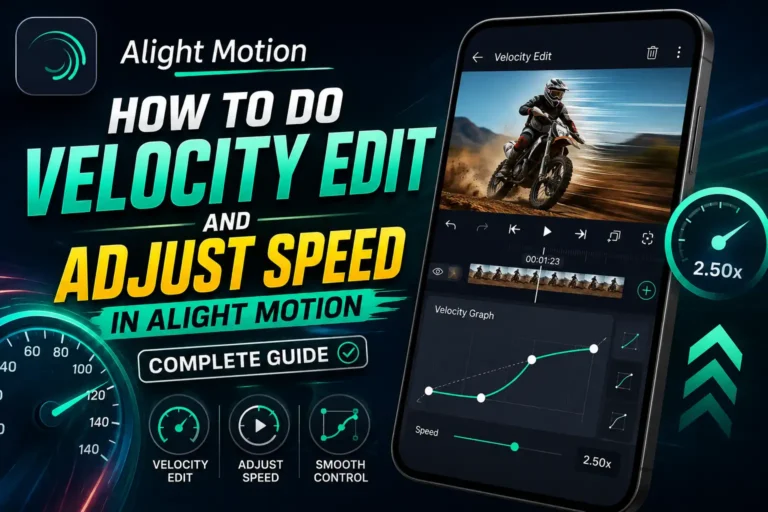
If you notice in many professional videos, objects move slowly at the start point and then suddenly move faster at the end point. This process is completed by the speed control keyframe.
Color keyframes:
If you want to change an object color from one to another, then color keyframes help to solve this problem. Set the color of the object and add a keyframe by clicking on the diamond-shaped button and selecting the second color and adding the second keyframe. In this way easily change your object transition. Somehow you can also explore the layering method here.
Interpolation-based keyframes:
Hold Keyframe:
If you notice in professional videos any object or text moves slowly or smoothly and suddenly fast at the end. It’s all done by holding the keyframe.
Use:
When you want sudden or gradual changes in object speed to speed up or slow down, then use the Hold keyframe. Further, it helps to create smooth and magical changes in a professional way.
Linear Keyframe:
Perfect for smooth and constant transition. Mostly in cinematic or easing UI, linear keyframes are used. Adding a linear keyframe creates a robotic touch in transition.
Easing keyframe:
It gives a more natural look to video. Speed and time vary, increasing and decreasing gradually. So that’s why easing keyframes are more superb than the other keyframes. It’s further divided into three types.
Ease-in: (start slow & end fast)
With the help of ease—in any object starts slowly and gradually speeds up. For example, in a car race, at the starting point, the car starts slowly and gradually speeds up. It looks natural.
Ease-Out: (start fast & end slow)
The object starts speedily, and gradually the speed slows down at the end point.
Ease in and out: (start slow, fast mid, end slow)
In this keyframe the object moves like an S shape. The object starts slowly from the curve, moves fast, and then ends slowly
How to add or use keyframes in Alight Motion?
Let’s discuss how to use or add keyframes in Alight Motion step-by-step complete guide.
Easy steps to copy and paste keyframes in Alight Motion
This method is not only good, but it also saves you a lot of time without paying too much attention.
Common keyframe issues and fixing in Alight Motion
Keyframe not appearing
Must change the property of the object; just clicking on the object, the keyframe will not appear.
The second keyframe did not appear
After adding the first keyframe, move the playhead ahead, fix the object, and a second keyframe will be created automatically.
Keyframe copying issue
For keyframe copying, tap on one keyframe until its color changes and drag for multiple layer selection; click on the copy option from the menu.
Animation is not smooth
Spacing between two keyframes is not equalized, so for slow animation, drag them apart, and for fast animation, drag them closer.
Keyframe wrong placement
Drag the keyframe diamond-shaped button on the timeline for adjustment.
Tips to Pros in Alight Motion Keyframe
Conclusion:
Adding keyframes in Alight Motion is a feature that gives your work a dynamic effect. We have personally experienced this feature, and in this article, we have shared not only how it works but also the solutions to the difficulties you may face while using it. If you want to take your editing skills to a pro level, you should definitely try this feature in Alight Motion. And if you face any other issues related to Alight Motion, make sure to visit our blog page to find solutions to all your problems.