How to use Masking and clipping in Alight Motion (Complete Guide 2026)
In this era of fast-growing, advancing technology, whether you’re a beginner or a professional in video editing, it’s very important to master every video editing tool that gives your video a magical touch. Every professional editor has a few personal favorite tools, and most consider masking the most magical one for editing — yet many don’t actually know how to use it. If you’re one of them, let’s learn masking step-by-step.
For example, in the Indian film Seeta Aur Geeta, Hema Malini plays a double role. On TV screen it looks like there are two different women playing different roles, but only one woman shoots these two characters in different places. This illusion was created with editing and masking techniques. That’s exactly the kind of magic you can bring to your own projects with Alight Motion.
When I first tried masking in my own edits, it was such a magical, “wow” experience. If you’re curious and want to learn how to do masking in Alight Motion step by step, this guide will walk you through everything you need to know so you can create the same magical effect in your videos.
What is masking in Alight Motion
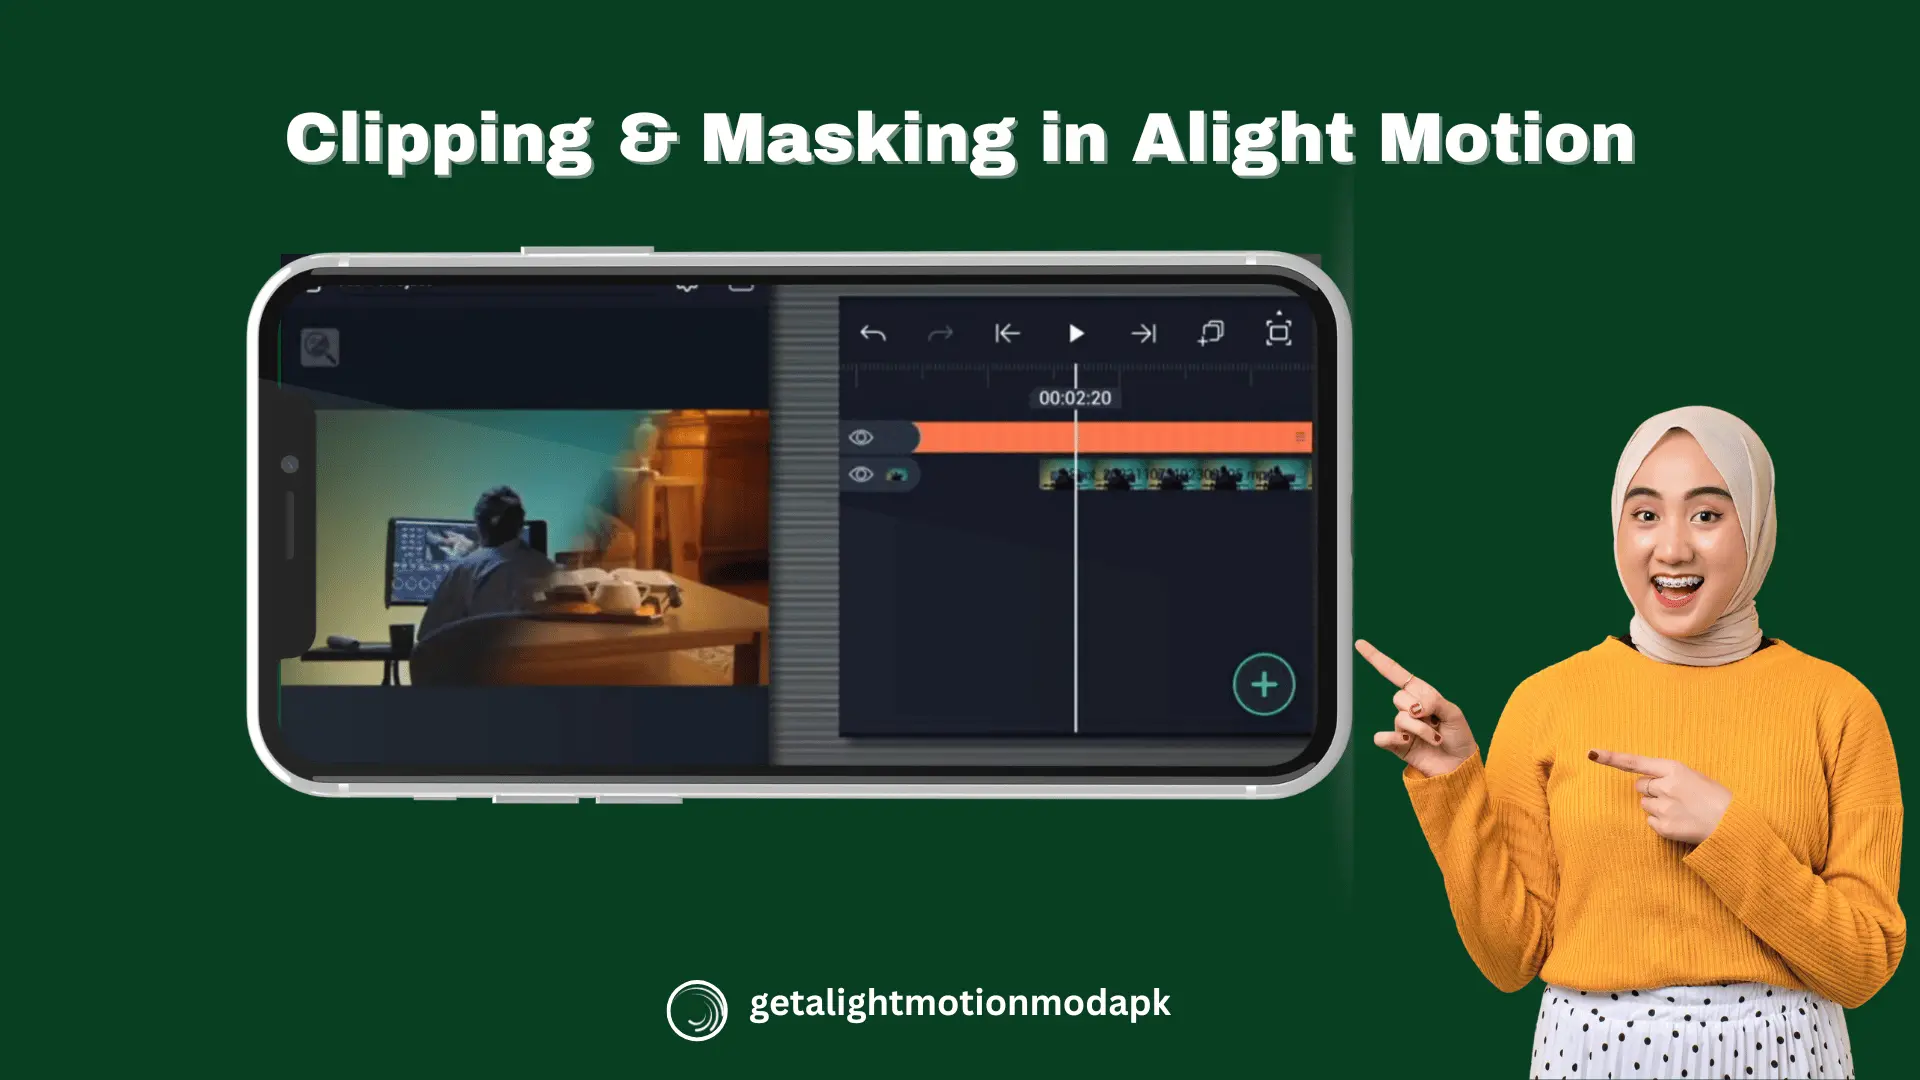
Masking in video editing is a feature that instantly gives your footage a seamless, professional effect. Any video clip, image, and text animation can be hidden or shown in a specific area, or even duplicate certain elements; masking makes it all possible.
For masking, professionals use different shapes—circles, polygons, triangles, etc.—and place your object inside the shape. Whatever part of your object falls inside the shape remains visible to the audience, while everything outside the shape is removed. That’s the core concept of masking.
For example, in films where the one actor appears to interact with themselves as two different characters, both performances are shot separately and then combined in post-production using masking and compositing. In Alight Motion there are two terms you should know to avoid confusion:
“To Be Masked” (the layer that will be affected) and
“Mask” (the shape or object used to hide or modify that layer).
With masking, you can combine multiple layers to create cinematic, creative effects that look polished and professional. And if you want to understand masking in depth, simply follow this article’s step-by-step guide and start practicing.
Different types of masking in Alight Motion
In Alight Motion, masking isn’t just used to hide or show images, text, or video clips—it’s also applied in different ways to create a variety of effects.
Shape Masking
In this type, you can select different shapes such as circles, rectangles, triangles, or polygons. The part of your object that you want to display is placed inside the chosen shape, while everything outside of it is removed. This is one of the most common types of masking, widely used by both beginners and professionals.
Alpha Masking
Alpha masking works with transparency. It is mostly used with PNG images or logos. The transparent areas are automatically hidden, while the non-transparent areas remain visible. For example, you can use this to reveal a brand logo with animation or to surprise viewers by showing a hidden object in your project.
Freehand Masking
In this type, you create a custom shape freely with the help of the pen tool. It’s useful when you want to isolate any object in an irregular shape rather than a standard circle or rectangle.
Gradient Masking:
This type creates a smooth transition where one part of the video gradually hides or reveals. It works with gradient colors (from black to white) to control visibility.
Inverted Masking
In this type, the background is highlighted while the subject is hidden. In simple words, whatever you want to highlight gets hidden, and whatever you want to hide becomes highlighted.
Luma Masking:
This works on the basis of brightness and darkness. The brighter areas of the video become separated and visible, while the darker parts either get hidden or separated. In simple words, brightness and darkness work in contrast with each other in luma masking.
How to mask in Alight Motion Step-by-step guide
Adding a masking technique in Alight Motion Pro APK is quite easy; follow these few steps, and you will be pro editor
- Open Alight Motion Click on “+” and select the resolution as per your project.
- Import any image, object, or video clip that you want to mask.
- Import background image
- Click on the + icon and select the shape as per masking.
- Select the shape and video that you want to mask.
- Two options show on the top, and select the first option.
- Here you can preview your masking.
Tips for smooth & professional masks
Most Common Masking Mistakes and Their Solution
Problem: Mask edges look rough
Solution: Zoom in and always use feathering for smooth edges. If this step doesn’t solve the problem, try increasing the resolution of your project.
Problem: layers misordered
Solution: Always ensure the mask layer is above the “to-be-masked” layer, or group your layers properly for the desired result.
Problem: Mask doesn’t cover the subject in all frames
Solution: Animate the mask shape or its position with keyframes so it follows the subject accurately.
Problem: Mask jumps or shifts
Use consistent anchor points throughout and double-check your keyframe placement to keep the mask steady.
Conclusion
Every feature in Alight Motion provides advanced editing options that allow you to add cinematic effects to your projects. Out of its unlimited advanced tools, my personal favorites are masking, chroma key, and Hindi fonts—features that give any video a truly professional touch.
Compared to other apps, Alight Motion Mod APK is a complete professional video editing solution. So, whether you are a beginner or a professional in video editing, you should definitely try Alight Motion.